If you are choosing between MakeInfluencer and ZenCreator, begin with one real brief: the same character, a product scene, and a short video. A long feature list cannot tell you how many attempts it takes to get those three assets approved.
This comparison is published by MakeInfluencer. It is a guide to evaluating the two workflows, not an independent benchmark or a claim that one wins every task.
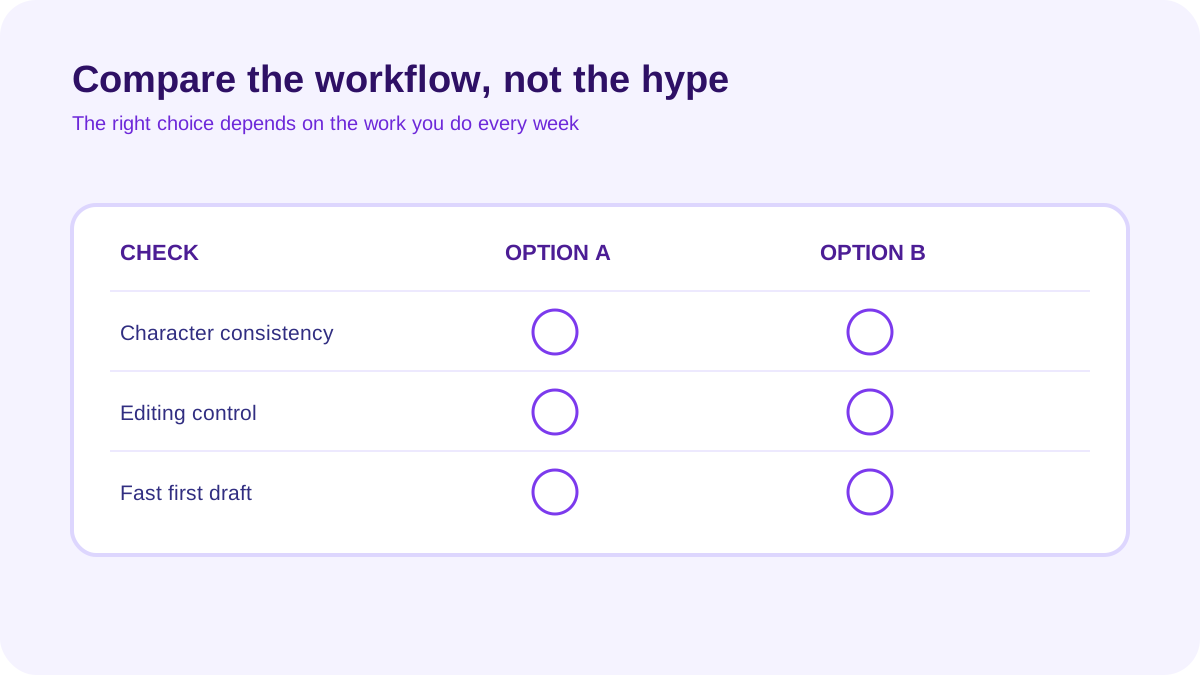
What each workflow emphasizes
MakeInfluencer provides a character workspace alongside image generation, video generation, lip sync, and developer documentation. If your work moves repeatedly between a saved character, still images, and video, test that handoff first.
ZenCreator's getting-started documentation describes Personas, image creation, photoshoots, video, and identity-finishing tools. That gives you a different sequence to evaluate: create a scene, refine the identity, and check the result. Feature availability and the exact steps can change, so verify the current interface before buying for a particular tool.
Neither description proves which result you will prefer. Use a reference you own or have permission to use, then keep the brief constant.
A five-output comparison you can repeat
| Output | What to inspect |
|---|---|
| Neutral portrait | Face shape, skin detail, age consistency |
| Different camera angle | Whether the same person remains recognizable |
| Product scene | Label accuracy, hand contact, proportions |
| Short movement clip | Drift between frames, occlusion, unwanted motion |
| Speaking clip | Mouth timing, pronunciation, natural pauses |
Write acceptance criteria before generating. For a product scene, “the label stays readable and the grip looks plausible” is useful. “Make it cinematic” is not a clear pass condition.
Save rejected attempts as well as approved files. A tool that produces one excellent image after many retries may suit occasional concept work but frustrate a weekly production schedule. Also note how easy it is to find a reference again, correct one detail, and export the final file.
Compare the cost of approved work
Credit units differ between services. A larger credit allowance does not automatically buy more usable images or video.
For each output, record total credits spent, retries, editing time, and whether the result met the brief. Convert the allowance or purchase price into the same currency and compare cost per accepted asset. Include unused credits and any recurring commitment in your decision.
Check current MakeInfluencer plans and ZenCreator's in-app billing terms for model access, resolution, credit expiry, refunds, cancellation, and commercial-use conditions. This page does not promise a particular free trial, price, or refund outcome.
If you need automation
Start with one low-volume integration test rather than a large batch. Confirm the models you need are available through the API, inspect the documented inputs and limits, and check how failures and retries are reported. An advertised integration is not proof that every dashboard feature is exposed.
For MakeInfluencer, begin with the developer docs and the MCP guide. For the competing service, ask for its current documented contract before designing your pipeline around it.
Choose from your results
Choose the workflow that passes your brief with acceptable cost and review time. If neither preserves the character or product accurately, simplify the shot and repeat the test before buying a larger plan.
For a reusable acceptance checklist, read the character consistency guide. A small recorded comparison is a stronger buying decision than a table full of untested checkmarks.