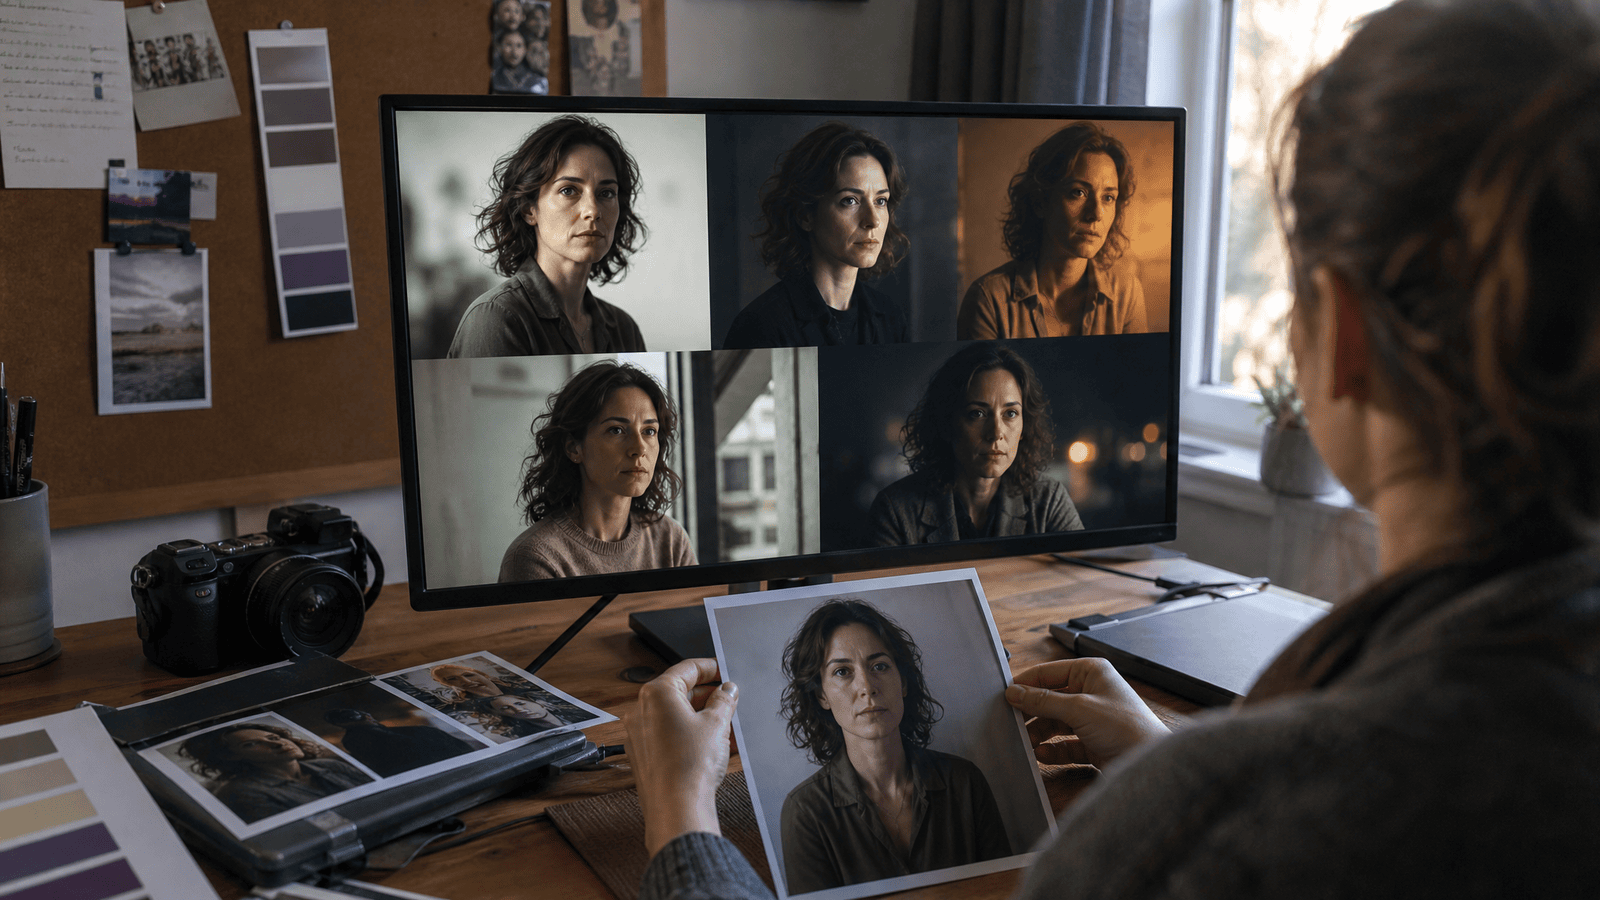
To create an AI influencer from a photo, start with images you own or have explicit permission to use. Build a small, varied reference set, train or register the character in a tool that supports identity references, and test the result in neutral scenes before producing public content.
The promise is not “pixel-perfect forever.” Photo references give the model better identity information than a text description, but pose, lighting, styling, model updates, and difficult interactions can still change the face.
Get consent and usage rights first
Do not upload someone else's portrait because it is public, easy to download, or “only for testing.” A face is not a free asset.
Use one of these sources:
- photos of yourself;
- photos from an adult model who signed a release covering AI training and commercial use;
- a fictional face generated for this project, under terms that allow your intended use;
- commissioned or licensed source material with clear derivative rights.
Write down the source, consent, allowed channels, territory, duration, and whether the likeness can be used in advertising. Keep the release with the project files. If the source person withdraws consent, you need a clear deletion and retraining plan.
Choose a useful reference set
More photos are not automatically better. Ten near-identical selfies teach less than a smaller set with deliberate coverage.
Aim to include:
- a front-facing portrait with a neutral expression;
- left and right three-quarter views;
- a profile;
- a natural smile;
- one medium or full-body frame;
- a second lighting condition without heavy color grading.
The face should be clear, sharp, and large enough to inspect. Avoid sunglasses, hair covering the eyes, beauty filters, extreme lenses, group photos, and screenshots with interface elements.
Keep the identity stable while varying only what the model needs to learn. If every image has different makeup, hair color, and apparent age, the output may average those choices or switch between them.
Prepare the images without erasing reality
Crop obvious distractions, rotate images correctly, and remove accidental borders. Do not smooth skin, enlarge eyes, or reshape features before training. The system will learn those edits as identity.
Use consistent color where possible, but do not force every image into the same studio look. Mild lighting variation helps reveal the face as structure rather than one lighting pattern.
Name files by angle and expression, such as front-neutral, left-three-quarter, and profile-right. This makes bad inputs easier to diagnose later.
Train or register the character
The exact controls depend on the product. Some tools create a lightweight identity profile from a few references; others fine-tune a model. Follow the tool's current documentation instead of copying settings from a different system.
During setup:
- use one character per training job;
- choose a neutral character name that will not leak into captions;
- avoid style words in the identity description;
- keep the original reference set unchanged;
- record the tool, model version, date, and settings.
Do not assume a successful status means the result is good. The training job only tells you that processing finished.
Run a controlled acceptance test
Create the same six test images every time you train or update a character:
| Test | Why it matters |
|---|---|
| Neutral headshot | Establishes the baseline identity |
| Side-lit portrait | Reveals face-shape drift |
| Profile | Tests information missing from front selfies |
| Full-body standing pose | Checks proportion and age cues |
| Object held in both hands | Exposes hand and contact errors |
| Short three-frame sequence | Checks continuity between outputs |
Compare the set against the source, not against your favorite generated image. Check eye spacing, nose and jaw shape, skin marks, hairline, teeth, body proportions, and apparent age.
If the result fails, change one variable: remove a contradictory photo, add a missing angle, simplify the prompt, or reduce stylization. Retraining with the same confused set rarely fixes the confusion.
Generate without overloading the identity prompt
Once the character passes, split prompts into two blocks.
Identity: reference the saved character and include only essential stable details.
Scene: describe action, camera, clothing, location, and light.
Do not repeat a long physical description that conflicts with the trained profile. Use simple actions before asking for crossed limbs, mirrors, crowds, or small products.
For a reusable prompt system and review rubric, continue with the consistent character guide.
Keep an audit trail
For every approved asset, save:
- the prompt;
- reference or character profile used;
- model and version;
- seed, when exposed by the tool;
- edits made after generation;
- intended channel and usage rights.
This record helps you reproduce a campaign, explain how an asset was made, and identify which model update caused drift.
Common problems
The character looks related, but not the same
Remove weak or contradictory references and add missing angles. Use neutral styling for the next test. Do not compensate with a paragraph of facial adjectives.
The output copies the background or clothing
Your reference set is too repetitive. Add the same face in a different location and simple outfit, if your tool permits updating the profile.
The character changes age or skin tone
Check whether the source images contain heavy filters, makeup changes, or mixed lighting. Make the apparent adult age explicit in the scene prompt and reject outputs that drift.
One model works and another does not
Identity handling is model-specific. Passing in one generator does not guarantee passing in another. Test each model separately and avoid switching mid-campaign without a new review set.
Frequently asked questions
Can I create a character from one photo?
Some tools allow it, but the model must guess hidden angles and expressions. One photo is useful for a prototype; a rights-cleared multi-angle set is a stronger base for repeated work.
Can I use a celebrity or influencer photo?
Not without the necessary permission and rights. Public visibility does not grant a license to clone a person's likeness.
Should I delete the references after training?
Check the tool's retention controls and your agreement with the source person. Keep your own secure originals and consent records, but remove hosted copies when they are no longer needed or when consent requires it.
When is the character ready?
When it passes your repeatable test set and you can explain the remaining limitations. Do not judge readiness from one flattering portrait.