A convincing portrait is a starting point. An AI influencer needs an identity you can reproduce, a reason for people to follow, and a human editor who decides what deserves to be published.
This workshop takes you from a blank page to one finished post. We will use Mara, a fictional adult character who explains small-wardrobe styling, as a worked example. For publishing schedules, audience research, and measurement after that first post, use the separate 30-day launch plan.
1. Write a brief you can actually use
Give the character a job before choosing a face. “Fashion influencer” leaves almost every decision open. “Helps office workers combine clothes they already own” gives you subjects, settings, and a useful first post.
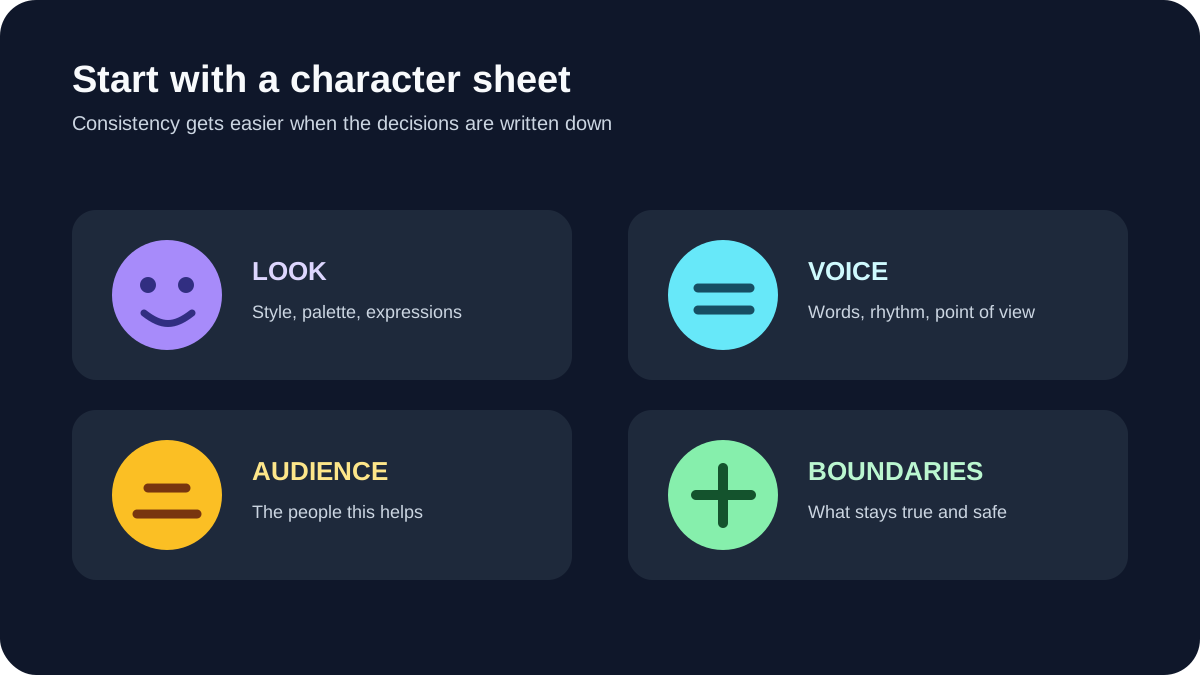
Mara's brief could fit on an index card:
- Audience: people putting together a small work wardrobe.
- Promise: explain one styling choice in each post.
- Appearance: adult in her thirties, dark wavy bob, brown eyes, softly angular face.
- Visual signature: navy, cream, and rust; plain studio backgrounds.
- Voice: observant and practical, with short, specific captions.
- Boundary: outfit illustrations, without pretending she wore or tested physical garments.
Treat this as a design exercise. Do not borrow an existing creator's face, life story, or credentials. A fictional character can have taste without claiming personal experiences.
2. Separate identity from the scene
Use an image workflow that lets you reuse references or a saved character. Before uploading reference material, make sure you have permission to use it for this purpose. If starting from an original generated face, keep a record of the tool and its usage terms.
Begin with a neutral portrait: even light, simple background, relaxed expression, and no face-obscuring accessories. A dramatic first image can hide problems that become obvious when the angle changes.
Choose one portrait as your master reference. Do not average several appealing but noticeably different faces into a supposedly consistent identity.
Save identity details separately from scene instructions. Mara's hairstyle and face stay stable; her jacket, pose, and background can change. This distinction makes revisions easier to diagnose.
3. Test the character before producing a feed
Make a small contact sheet using the same reference:
| Test | What to inspect |
|---|---|
| Front and three-quarter portraits | Eye spacing, jaw, hairline, apparent age |
| Profile | Nose shape, chin, ear placement |
| Natural smile | Teeth, cheeks, whether she still looks like herself |
| Full-body image | Proportions and face detail at smaller scale |
| Holding a bag | Fingers, straps, contact with the object |
Compare each result against the master reference, not only against the previous output. Small changes can accumulate unnoticed.
When a result fails, change one thing. Simplify the pose, remove a distracting accessory, or return to softer lighting. Keep the reference and other settings stable while testing. Repeating a description in a prompt does not train a model, and no prompt guarantees an identical face. The character consistency guide covers this stage in more detail.
4. Build one useful post
Mara's first post is “One jacket, three outfit proportions.” That gives every image a purpose and makes the comparison easy to judge.
A starting prompt might be:
Use the approved reference for Mara, an original fictional adult character. Full-body editorial illustration in a plain cream studio. Navy short jacket, straight cream trousers, rust flat shoes. Relaxed standing pose, arms at sides, soft even daylight. Preserve the reference face and hairstyle. No lettering or logos.
Make the next versions with the same framing and lighting. Change the trouser silhouette or jacket length, rather than everything at once. Add labels in your editor so the text remains readable.
Check that the image supports the caption. If you describe the difference between a cropped and a long jacket, the hemline must actually change. Generated clothing can also invent closures, pockets, or seams. Use generic styling illustrations unless you can verify the depiction of a specific product.
5. Edit the caption like a person
Skip “Elevate your style effortlessly.” Say what the reader should notice:
The shorter jacket leaves more of the trouser line visible. Swipe to compare it with the longer version. Which proportion would you try with clothes you already own? AI-generated character and outfit illustrations.
Read the caption aloud. Remove claims the image cannot prove, unnecessary adjectives, and questions you would never ask in a conversation. Keep the character's tone consistent without repeating a catchphrase in every post.
6. Package the work so you can repeat it
Save the approved reference, brief, prompts, settings, edited exports, and final caption together. Record why you rejected the weak results. “Face changed in profile” is more useful than “bad image.”
Track production cost per approved post, including rejected generations and editing time. There is no universal starting budget: a simple image comparison and a speaking video require different work.
Before publishing, inspect the export at phone size. Check faces, hands, garment details, readable text, and the profile crop. Clearly identify the character as virtual and check the destination platform's current labeling instructions. A polished result still needs an honest description.
Questions before your first post
Do I need video immediately?
No. A small image set is enough to test identity and editorial direction. Add movement once still images are dependable; inspect the whole clip for changes in the face, clothing, and objects.
What if the face keeps changing?
Return to the neutral reference and a simple pose. Diagnose the failure before adding more prompts, outfits, or models. Some workflows may not provide the control your character needs.
What should I have at the end?
One original character brief, an approved reference, a checked contact sheet, and one useful post. You can start a character project with that brief, then use the launch plan when the character is ready to meet an audience.